Peeling paint, uneven finishes, and early failures often stem from one overlooked step: cleaning walls properly before you paint. Dirt, grease, and grime create invisible barriers that prevent paint from bonding correctly, leading to costly repairs within months. This guide walks you through proven cleaning methods tailored for Newcastle's coastal conditions, ensuring your next paint job delivers smooth, durable results that last for years.
Table of Contents
- Understanding Why Cleaning Walls Matters Before Painting
- Essential Cleaning Materials And Safety Precautions
- Step-By-Step Guide To Cleaning Walls Before Painting
- Common Mistakes And Tips To Avoid During Wall Cleaning
- Trust Your Local Newcastle Painting Experts
- FAQ
Key takeaways
| Point | Details |
|---|---|
| Proper cleaning improves adhesion | Removing contaminants ensures paint bonds correctly, extending lifespan by years. |
| Match cleaners to contaminants | Use alkaline detergents for grease, fungicides for mildew, mild soap for light dirt. |
| Follow a four-step process | Pre-clean, wash, rinse thoroughly, and allow complete drying before painting. |
| Ventilate during and after cleaning | Proper airflow prevents moisture buildup and mould growth in humid climates. |
| Test cleaners first | Always test in an inconspicuous area to avoid surface damage. |
Understanding why cleaning walls matters before painting
Dirt, oils, mould, and surface residues act as invisible barriers between your wall and fresh paint. When you skip proper cleaning, paint struggles to grip the surface, leading to premature failures that waste your time and money. Cleaning removes contaminants that cause peeling, streaking, bubbling, and uneven color distribution.
High-traffic areas accumulate fingerprints, cooking oils, pet residue, and dust particles that compromise adhesion. Kitchen walls collect grease vapor, while bathroom surfaces harbor soap scum and mildew. These contaminants prevent paint molecules from forming strong chemical bonds with your wall substrate. The result? Paint films that lift, crack, or discolor within months instead of lasting years.
Walls prepped with proper cleaning show up to 30% better paint adhesion in shear bond strength tests. This improvement translates directly to longer-lasting finishes that resist chipping, flaking, and moisture damage. Professional interior and exterior painting services prioritize this step because they understand the science behind paint adhesion.
Common paint failures from skipped cleaning include:
- Peeling within 6-12 months, especially at edges and corners
- Blistering when moisture gets trapped under paint layers
- Uneven sheen where oils create slick spots
- Color inconsistencies from residue showing through coats
- Premature chalking on exterior surfaces
"The difference between a five-year paint job and a fifteen-year paint job often comes down to surface preparation. Cleaning isn't optional; it's the foundation of durability."
Newcastle's coastal environment adds another layer of complexity. Salt spray, higher humidity, and UV exposure accelerate paint degradation when walls aren't cleaned properly. Investing time in thorough cleaning protects your investment and ensures your paint withstands local weather conditions.
Essential cleaning materials and safety precautions
Gathering the right materials before you start prevents mid-project delays and ensures effective cleaning. Your toolkit should include microfiber cloths, appropriate cleaning solutions, sponges, two buckets (one for cleaner, one for rinsing), rubber gloves, and safety glasses. Always test cleaning solutions in an inconspicuous area to avoid damaging paint or drywall.
Cleaning agent selection depends on your wall contaminants. Alkaline detergents like trisodium phosphate (TSP) cut through kitchen grease and oil buildup. Fungicidal cleaners target mildew and mould in bathrooms or poorly ventilated rooms. Mild dish soap mixed with warm water handles light dust and general dirt on most interior walls. Never mix cleaning chemicals, as this creates toxic fumes and unpredictable reactions.
Ventilation ranks as critically important during wall cleaning. Open windows and doors to create cross-breezes that disperse chemical vapors and accelerate drying. Poor ventilation traps moisture in your walls, creating perfect conditions for mould growth that undermines your paint job. In rooms without windows, use fans to circulate air and exhaust moisture outdoors.
Personal protective equipment (PPE) safeguards you from chemical irritants and physical strain:
- Rubber gloves protect skin from harsh cleaners and prolonged water exposure
- Safety glasses prevent splashes from reaching your eyes
- Dust masks filter airborne particles when dry-cleaning walls
- Old clothing covers your body from splatter and stains
- Kneepads reduce joint stress during low wall sections
Pro Tip: Before cleaning, remove outlet covers and light switch plates to prevent water damage to electrical components. Cover outlets with painter's tape for added protection.
For exterior walls, adjust your approach for Newcastle's coastal conditions. UV-degraded surfaces may require gentler cleaners to avoid removing too much material. Consider reviewing our pressure washing guide for stubborn exterior grime that hand-cleaning can't remove. Pressure washing delivers faster results on brick, concrete, and weatherboard exteriors.
Organize your workspace by moving furniture away from walls, covering floors with drop cloths, and staging cleaning supplies within easy reach. This preparation streamlines your workflow and prevents accidental damage to belongings. Start with ceiling-to-floor cleaning patterns to avoid re-contaminating already cleaned areas with drips.
Step-by-step guide to cleaning walls before painting
Proper wall cleaning follows a four-step process that ensures excellent results lasting over seven years. Each step builds on the previous one, creating optimal conditions for paint adhesion. Rushing or skipping steps compromises your final finish and wastes the effort you've already invested.
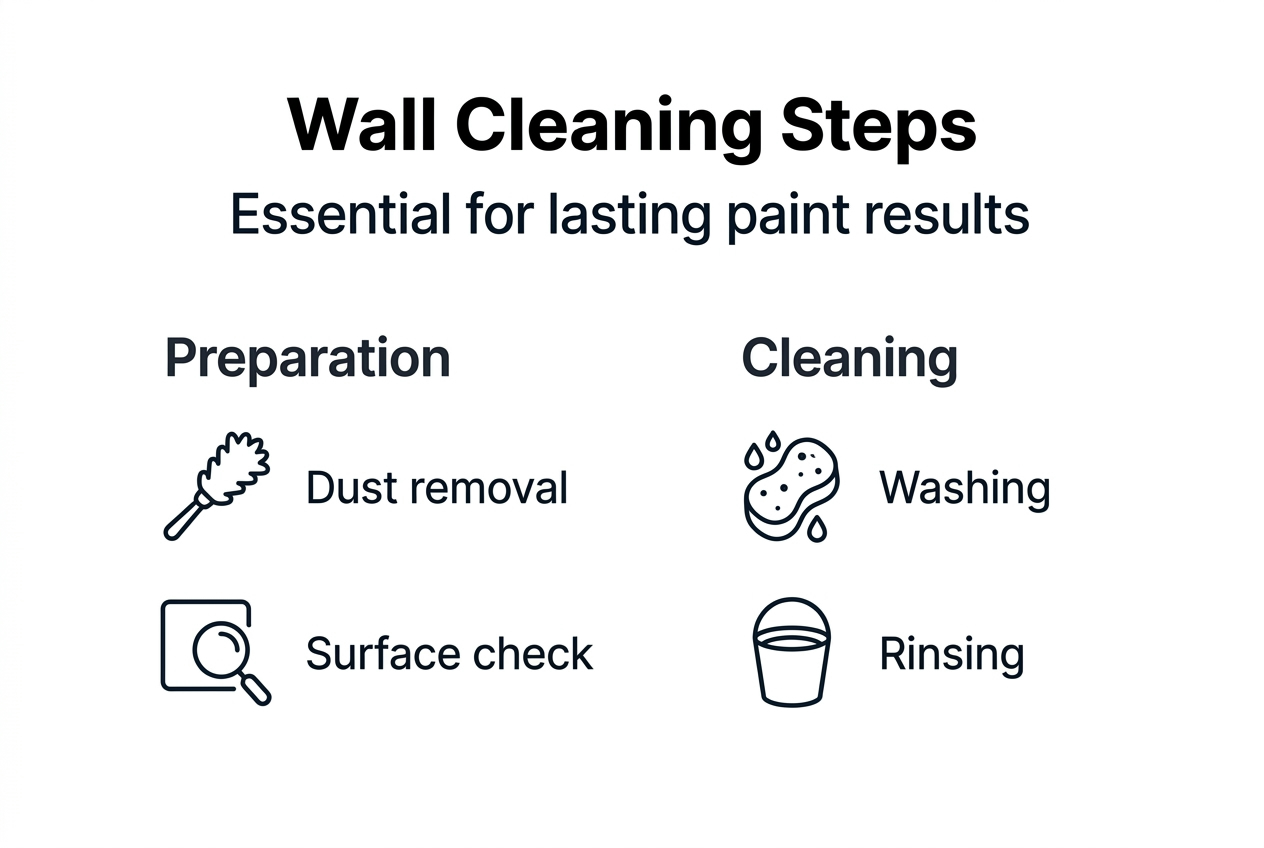
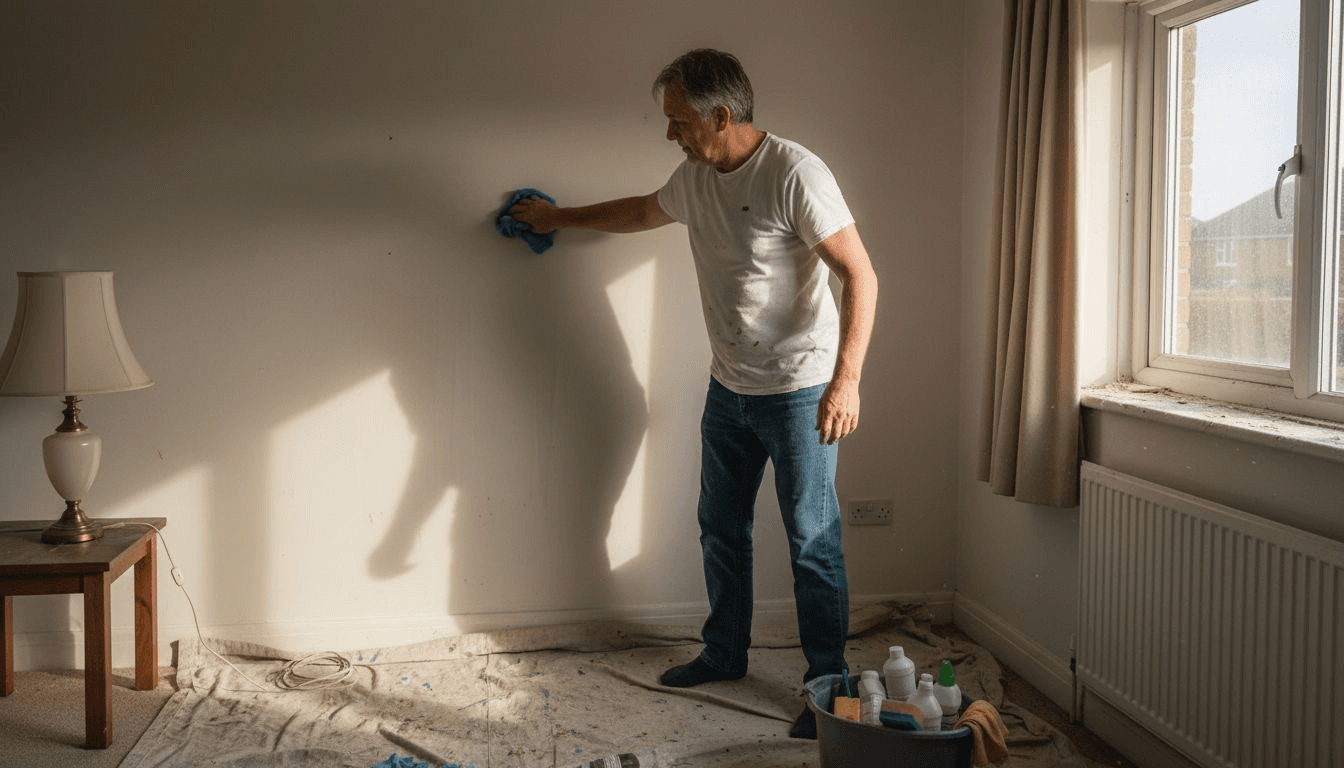
Step 1: Pre-clean with dry methods
Start by removing loose dust, cobwebs, and surface debris with a dry microfiber cloth or vacuum with a brush attachment. Work from ceiling to baseboard using overlapping strokes. This prevents turning dry dust into muddy streaks when you introduce water. Pay special attention to corners, crown molding, and baseboards where dust accumulates heavily.
Step 2: Wash walls with appropriate cleaner
Mix your chosen cleaning solution according to package directions in a bucket. Dip your sponge or cloth, wring out excess liquid (walls should be damp, never soaking), and wash in small sections using circular motions. Start at the top and work downward to catch drips. Change your cleaning solution when it becomes visibly dirty to avoid redistributing grime.
Different contaminants require specific cleaners:
| Contaminant | Recommended Cleaner | Application Method |
|---|---|---|
| Kitchen grease | TSP or alkaline degreaser | Circular scrubbing with moderate pressure |
| Mildew/mould | Fungicidal cleaner | Apply, let sit 10 minutes, then scrub gently |
| Light dust/dirt | Mild dish soap solution | Wipe with damp cloth using minimal pressure |
| Nicotine stains | TSP with warm water | Multiple passes with fresh solution |
| Crayon/marker | Baking soda paste | Gentle rubbing with soft cloth |
Pro Tip: For stubborn grease spots, apply undiluted cleaner directly to the area, let it sit for five minutes, then scrub with a soft-bristle brush before wiping clean.
Step 3: Rinse thoroughly with clean water
Proper rinsing after cleaning removes soap residue that interferes with paint adhesion. Fill your second bucket with clean, warm water. Use a fresh sponge or cloth to wipe down all washed areas, removing every trace of cleaning solution. Rinse your cloth frequently in the clean water bucket, changing the water when it becomes cloudy.
Soap residue creates a slippery film that prevents paint from gripping properly. Even small amounts of leftover cleaner can cause adhesion failures months later. Take your time with rinsing, treating it as importantly as the washing step itself.
Step 4: Allow complete air drying
After rinsing, allow walls to air-dry completely before painting, blotting excess moisture with microfiber towels. Open windows, run fans, and use dehumidifiers if needed to accelerate drying. Walls typically need 24 hours minimum, though humid conditions may require longer. Touch the surface in multiple spots; if it feels even slightly cool or damp, wait longer.
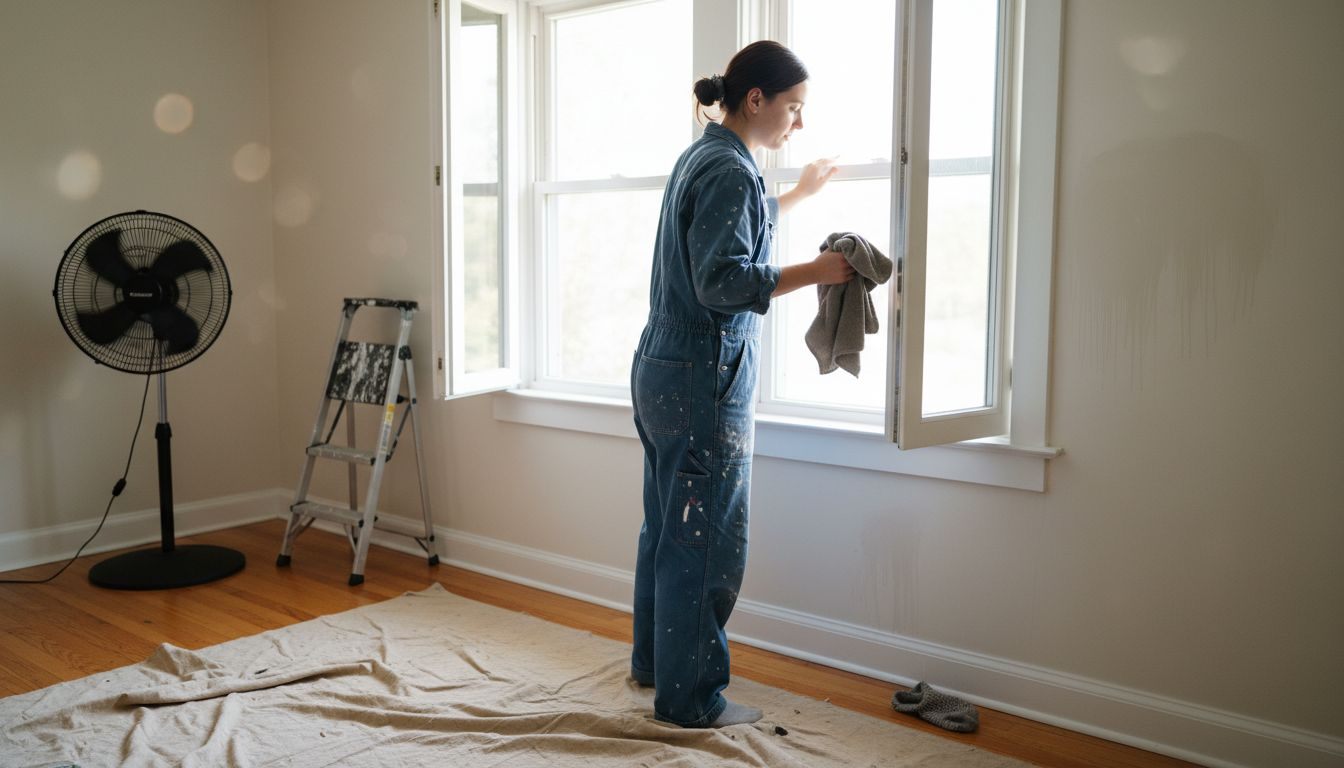
Painting over damp walls traps moisture under the paint film, causing blistering, poor adhesion, and mould growth. This mistake ruins paint jobs and requires complete removal and repainting to fix properly.
Exterior wall adjustments
Exterior surfaces face additional challenges from UV exposure, salt spray, and weather-related contaminants. For comprehensive exterior preparation, review our guide on exterior painting preparation specific to Newcastle conditions. Exterior cleaning often requires pressure washing for brick, concrete, or weatherboard surfaces where hand-cleaning proves ineffective.
Common mistakes and tips to avoid during wall cleaning
Even experienced DIYers make cleaning errors that compromise paint adhesion and longevity. Using the wrong cleaner can cause paint failure within months, wasting your time and money on premature repainting. Understanding these pitfalls helps you avoid costly mistakes and achieve professional-quality results.
Skipping the rinse step ranks as the most common error. Soap residue creates a barrier layer that prevents paint from bonding chemically with your wall surface. This invisible film feels slightly slick to the touch and causes paint to peel at edges and seams first. Always rinse thoroughly with clean water, changing rinse water frequently.
Bleach misuse damages more than it helps in many situations. While bleach kills mould spores on contact, it doesn't remove the dead mould material that still blocks paint adhesion. Bleach also weakens drywall paper and can discolor certain wall materials. Use dedicated fungicidal cleaners formulated for pre-paint surface preparation instead.
Underestimating cleaning thoroughness leads to disappointing results. A quick wipe-down doesn't remove embedded oils, nicotine residue, or cooking vapors that accumulate over years. These contaminants require proper cleaning solutions, adequate dwell time, and mechanical scrubbing to eliminate completely. Invest the time upfront rather than repainting sooner.
Newcastle's higher humidity makes ventilation especially critical during and after cleaning. Poor airflow allows moisture to linger in walls, creating ideal conditions for mould growth that appears weeks after painting. The EPA guidelines on humidity and mould recommend maintaining indoor humidity below 60% to prevent mould proliferation. Open windows, use fans, and run dehumidifiers to keep air moving.
"The best painters spend more time on preparation than actual painting. Cleaning isn't glamorous, but it determines whether your paint job lasts three years or thirty."
Key cleaning pitfalls to avoid:
- Using too much water, which oversaturates drywall and causes swelling
- Scrubbing too aggressively on painted surfaces, creating scratches that show through new paint
- Mixing incompatible cleaners that produce toxic fumes or neutralize effectiveness
- Painting before walls fully dry, trapping moisture under paint films
- Ignoring mildew in corners or behind furniture that spreads after painting
- Forgetting to test cleaners first, risking widespread damage to wall surfaces
Pro Tip: Run your hand across the cleaned, dried wall. If it feels slightly sticky, greasy, or rough, you need to clean again. Properly cleaned walls feel smooth and completely neutral to touch.
For professional results without the hassle, consider experienced interior and exterior painting in Charlestown services that handle all preparation steps correctly the first time. Professional painters know which cleaners work best for specific contaminants and have the tools to clean efficiently.
Trust your local Newcastle painting experts
While DIY wall cleaning prepares you for successful painting, professional painters deliver expertise that saves time and prevents costly mistakes. Proper surface preparation requires understanding Newcastle's unique coastal environment, where salt spray, humidity, and UV exposure demand specialized cleaning approaches.
Professional painters in Charlestown and throughout Newcastle bring years of experience identifying hidden contaminants, selecting appropriate cleaners, and ensuring complete drying before painting begins. They use commercial-grade equipment that cleans more thoroughly and efficiently than household tools, delivering superior adhesion and longer-lasting results.

Our team at 4 Elements Painting specializes in Newcastle interior and exterior painting projects where proper preparation makes the difference between paint jobs that fail within months and finishes that protect your home for decades. We handle every step of exterior painting preparation in Newcastle, from deep cleaning to primer selection, ensuring your investment delivers maximum value. Contact us for a free consultation and discover how professional preparation transforms painting results.
FAQ
How do I know if my walls need cleaning before painting?
Walls that look dirty, stained, or feel greasy always need cleaning before painting. Even if surfaces appear clean, oils and residues you can't see still interfere with adhesion. High-traffic areas, kitchens, and bathrooms almost always require thorough cleaning regardless of visible condition.
What is the best cleaner to use on walls before painting?
Use alkaline cleaners for grease removal and fungicidal cleaners for mildew; mild detergent works for light dirt. Match your cleaner to your specific contaminants for best results. Always test the cleaner on a small, hidden area first to prevent damage to your wall surface.
How long should I wait after cleaning before painting?
Typically, allow walls to air-dry completely for 24 hours or until fully dry to touch before painting. Use fans or open windows to accelerate drying when possible. Touch multiple areas; if any spot feels cool or damp, wait longer to prevent adhesion problems.
Can I skip cleaning if I'm painting over existing paint?
No, existing paint still accumulates contaminants that prevent new paint from bonding properly. Surface oils, dust, and residues create barriers regardless of whether you're painting bare walls or repainting. Cleaning remains essential for all painting projects to ensure maximum adhesion and longevity.